末尾显示省略号(ellipsis)
分两种,单行跟多行。
以单行为例。需要设置一个宽度,这样才有overflow的情况。同时设置超出后显示省略号。除此之外,因为设了宽度,会默认换行,那么就达不到overflow的情况,所以要阻止换行,用nowrap使得一行显示。
123456.ellipsis-single{width: 200px;overflow: hidden;text-overflow: ellipsis;white-space: nowrap;}多行的话,设置最多行数(-webkit-line-clamp)
123
-webkit-line-clamp,display: -webkit-box-webkit-box-orient
具体的demo见[codepen]哈
See the Pen ellipsis test with single line and multiple lines by lu (@luchen) on CodePen.
tagged input
See the Pen tagged input via vue by lu (@luchen) on CodePen.
这个demo目的是:
- 轮子,交互友好,因为常用pocket跟evernote,就有打tag的场景,但是element没有相应的组件。
- 实践了一下vue所说的v-model的语法糖。总结来说就是
|
|
子组件新建一个data,维持从父类传来的props(value)作为初始值,每次子组件data(或者更精确点说是:要传出去的数值)变动时$emit,通知父组件变动。是由内往外的数据传输。
svg 制作进度环
part1:基础知识:
通用指令:
stroke stroke-width stroke-color stroke-linecap stroke-dashedarray fill常用指令:
- circle
<circle cx cy r></circle> path:
d>``` 1- polygon:```<polygon points></polygon>所有的大写表示绝对路径,小写为相对偏移
123456789101112131415161718192021222324path相关指令:M = moveto 标志起点终点等 eg M 100 100//group2L = lineto H = horizontal lineto V = vertical lineto //直线终点eg L 100 200//group3C =curveto S = smooth curvetoQ = quadratic Bézier curve T = smoothC 为两个控制点+终点,如三次贝塞尔曲线中,会有两个控制点。eg.<path d="M70 60 C 70 80, 110 80, 110 60" stroke="black" fill="transparent"/>S:表示简写控制点,表示它的第一个控制点与前面的S/C的控制点的对称点:S C2 endPQ 为二次贝塞尔曲线的一个控制点,类似于CT前面需要有Q或者TA = elliptical ArcA x-radius y-radius x-rotation large-arc-flag(角度大小)sweep-flagZ = closepath
- circle
part2: 划重点
- 圆环: 用circle+fill:none+stroke绘制而成
- slider:用path+arc指令+fill:none去绘制弧
- 注意点:
- viewbox与svg之间的scale和坐标映射问题。整个的绘制是以viewbox为基准的,而交互操作的坐标是需要先转为相对于svg,然后再scale到viewBox的。关于viewbox,viewport等的问题,戳张鑫旭大神的文章科普下理解SVG的viewport,viewBox,preserveAspectRatio。
viewbox的一个好处,可以认为是可以自适应container的同时开发人员可以只针对viewbox的坐标系统进行开发。有点类似于移动端设置rem,开发人员只要对750px的去进行编写各种px,最终都会根据环境去相应的映射到正确的宽高大小。 - 精度缺失问题: 当percent为100传过去得到弧度制的角度时,因为Math.PI本身无限循环下去,有精度损失。我们看到

而正常理解中,sin(360°)应该为0。就导致最终画满格的时候会出现这样的情况。
所以楼主暗搓搓的检测100%时手动变成了99.9%。捂脸… - Math.sin等函数接受的是弧度制非角度制,需要预先进行处理
- viewbox与svg之间的scale和坐标映射问题。整个的绘制是以viewbox为基准的,而交互操作的坐标是需要先转为相对于svg,然后再scale到viewBox的。关于viewbox,viewport等的问题,戳张鑫旭大神的文章科普下理解SVG的viewport,viewBox,preserveAspectRatio。
- 交互方面:
设置了点击以及mousemove的部分。
对于坐标的检测,检测clientX,并映射到viewbox内。然后根据(x-c1)^2 +(y-c2)^2 = r^2。去计算y,而这个时候得到的会有两个y,对称于直径。那么就需要根据clientY去进行筛选匹配,从而得到正确的圆上坐标。,去绘制arc path。然后根据坐标去计算夹角,得到percent。最终更新data。
最终的demo戳这个链接,但是不知道为什么放到codepen里面,第三幅图的数据没有更新(func props没有传下去)。实测是可以的。
See the Pen sliding circle via svg by lu (@luchen) on CodePen.
补充:
因为同时有click跟mousedown,mousemove,mouseup。为了避免冲突,楼主把mouse部分放在了path上,click放在了circle上。具体场景可以看
可以看到当在只注册了mousedown,up的path上进行click,会依次执行down,up。
如果绑在同一个元素上,就有冲突,会执行三条,那么就需要用时间进行下面的区分操作:
在mousedown的时候,记录当前的时间,然后在mouseup的时候,再取当前时间,然后判断这两个时间差,当它大于某个数值的时候(因为如果是click,那么会在很短时间内产生mouseup),就不认为它是click。更精确的还可以加上mousedown和mouseup的坐标,不同则非click。
网上看到一个setTimeout的解决方案,小于200ms的就执行click操作:
|
|
PS:
楼主之前看到circle还有一种很巧妙的方法。简要来说是用path(arc)+stroke-dasharray去处理。一个环就是一个stoke-dasharray [first second]。first的长度即为当前percent的亮色部分。second即为灰色的部分。
但是这种方法不是很好做mousemove。所以楼主就作罢嘞
对比一下tagged input和circle,这两个都是vue组件的编写,都涉及父子组件的通信,区别在于,第一种是 子组件新建一个data,维持从父类传来的props作为初始值,每次子组件变动时$emit,通知父组件变动。是由内往外的数据传输。
第二种的version1版本是父组件传props进内部,外部进行变动,反应到子组件,相应变化。(此时没有data.)当需要增加需求(version2,即需要交互滑动circle)时,就需要增加一个currentValue的data,以props percent初始化,一方面需要watch percent的变动(外->内),另一方面当自己变化时,需要告知外部,即调用onPercentChange(val) 的props回调。
references
donut via d3
效果图如下,两圈圆分别代表内外部数据,mouseover到内侧时,会在中心显示相应的数据,外侧均分的arc,由折线引出它关联的数据、图标等等。
下面我们来看下实现
首先生成一个饼图
|
|
d3.pie()返回一个generator(实际上是一个函数,接受data数组作为参数),d3.pie(data)最终生成一个由data map出来的新数组 arr,arr的每一个元素是一个有以下属性的obj,每一个obj标志了一个arc弧:
data - the input datum; the corresponding element in the input data array.
value - the numeric value of the arc.
index - the zero-based sorted index of the arc.
startAngle - the start angle of the arc.
endAngle - the end angle of the arc.
padAngle - the pad angle of the arc.
|
|
生成各部分arc
arc也是一个函数,对上面绘制的pie进行限定(内外半径+padding)arc(data2)生成"M0,-100A100,100,0,0,1,100,0L0,0Z这样的数据,传递给pathd3.append("path").attr("d",arc),最终就出来一条弧。
注: path.data(innerData).attr("d",func)第二个参数为一个函数(这边即为arc函数),接受innerData中的每一个obj为参数,这些数据作为新的绘制数据被传递给path,从而最终得到饼图。
该部分代码如下:
|
|
总结来说,d3.pie()(data) 得到【obj1,obj2】,每个obj又赋值给arcd3.arc(obj1),得到path的d属性数据。
折线部分
这边主要思路是定义一条polyline的三个点去生成线段,三点分别为outerArc的中心,隐藏的一个圆的centroid,以及自定义的终点。
|
|
图片与文字部分
这边需要注意的是,由于楼主最开始使用了es6的语法,因此在attr的回调函数中无法d3.select(this)去得到元素,(es6中绑定的this是外层定义时的this),下面我们会提到的mouseover事件中也是。
还有一个问题是,因为image元素随着group 进行了transform,因此实际上是左上角在现在的圆心处,应该反transform自身的一部分,使之居中后再去发散到四周。因此这边用x,y去预先定义了他们的位置。
而文字,没有图片那么麻烦,可以直接用text-anchor进行处理。
|
|
绑定事件
attr(attrname,value): 对相应的元素的属性进行设置,value可以为值,也可以为函数,如果是func的话,会被立即调用。
因为这边的需求是mouseover上(d3里面没有hover、mouseenter等函数)显著标出。(最开始楼主设置了scale,但是svg元素中不支持transform-origin,因此没有办法设置center,使得偏离位置,不停触发mouseover)。后来就保持内半径不变…
attrTween(attrname,value): value作为函数时,应该返回的是一个参数为time(时刻)的插值器(函数),插值器的返回值作为value被设置成时刻t时该属性的值
|
|
|
|
补充知识
svg viewport、viewbox、
viewPort: 视窗,svg声明width,height的部分
|
|
一建立viewport,就会创建初始的视窗坐标系和用户坐标系
- 视窗坐标系是建立在视窗中的,
- 用户坐标系是建立在画布上的(viewbox限定),真实坐标系。
初始时,两者相同,但可以后续设置使之不一致
|
|
viewbox属性分别对应: leftTopX,leftTopY,width,height
声明了一个区域,在viewport中裁切出来,然后拉伸来适应viewPort。
当viewbox与viewPort的比例不一致的时候,可以用preserveAspectRatio 来保持长宽比,又涉及到两个参数
“alignment meet/slice”
meet用于按照viewbox大小去按比例适应viewport(设宽比a,高比为b,按照比例小的去适应),如上面的比例1:1,会适应成600 600.
而slice则会(尽可能充满viewport,按照大比例去)适应后去裁切。
alignment表明的是viewport与viewbox的按照哪些轴对齐
参考文章可以看
- 张鑫旭的,
- 还有这篇理解SVG坐标系和变换:视窗,viewBox和preserveAspectRatio,
- 测试网站
- A Look At SVG viewBox and viewport
- extending the arc
注意点:
在svg元素上的transform是不会继承给子元素的,只有绑在g element上才可以。如图:

具体戳这边的链接
Drawback: G Elements Have no X and Y Attributes
否则,得手动一层层的把transform复制给子元素,可以看到下图中,transform直接设置在svg上,inner没有做任何处理,outer需要设置与svg同样的位移才居中。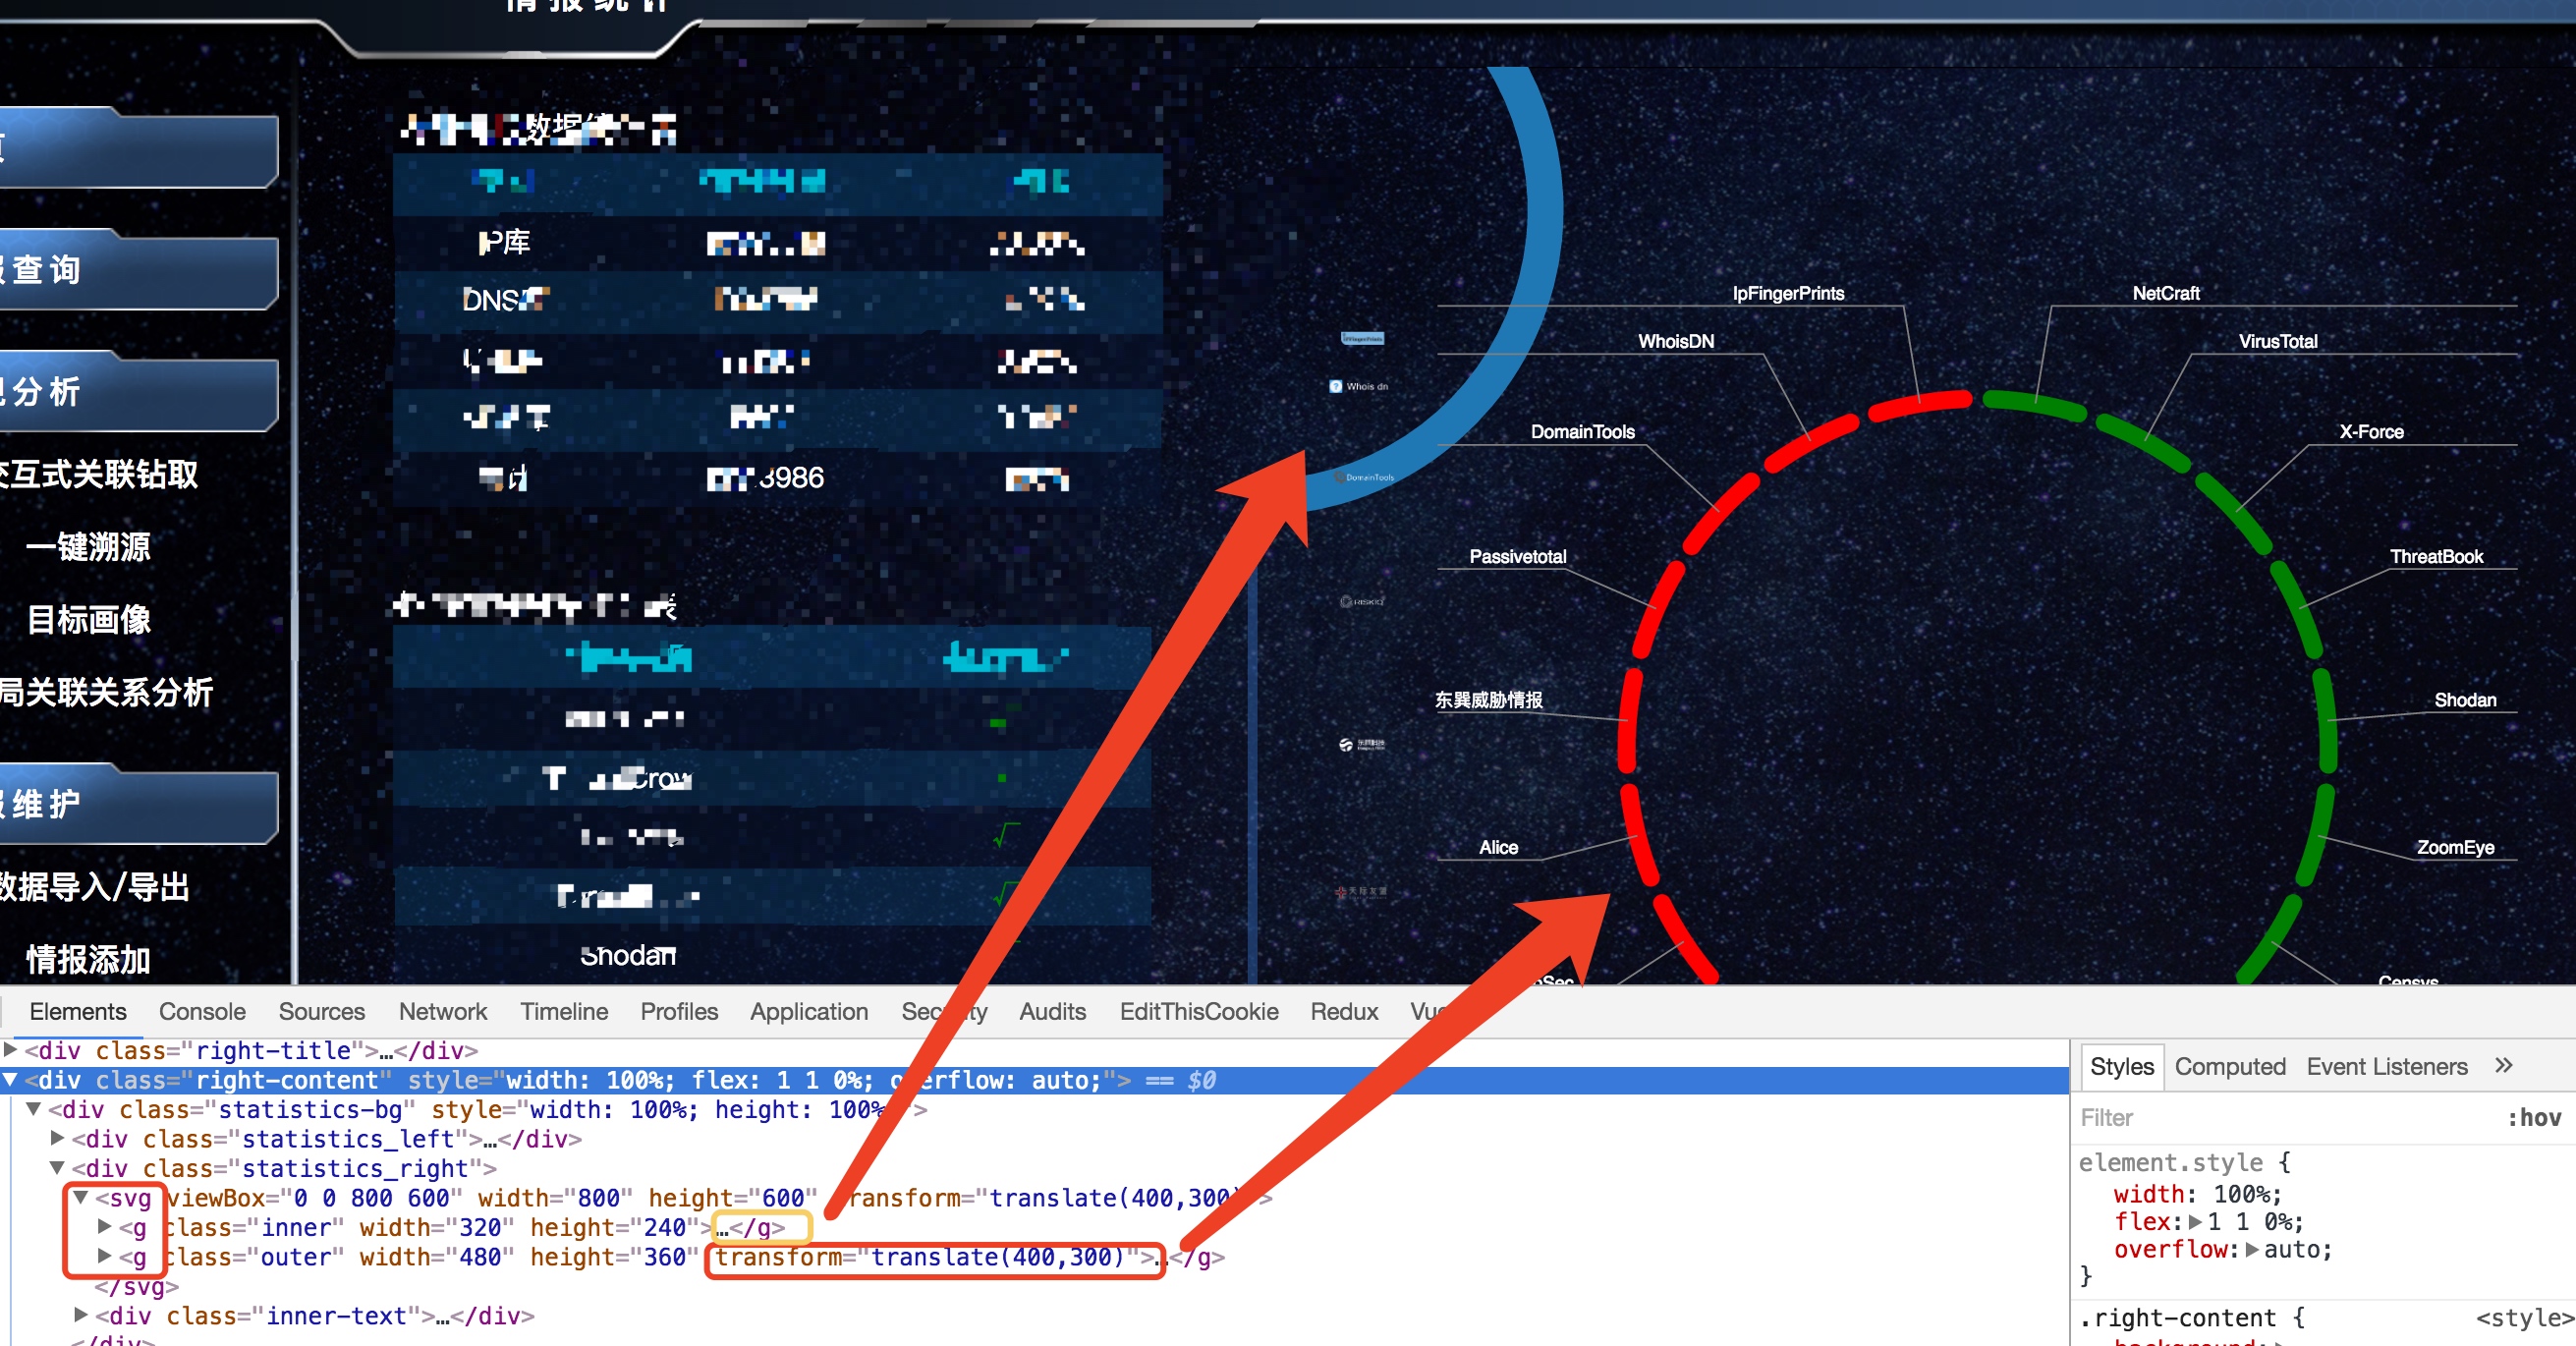
transform-origin不存在于svg的属性中,是css的属性
First of all, transform-origin is a pure CSS 3 property, it is not related to SVG 1.1 at all. Despite the fact that transform sounds a lot like transform-origin, they apply to different systems. transform exists in both CSS 3 and SVG 1.1 but have separate implementations. transform-origin only exists in CSS 3 and therefore it is not supposed to influence SVG 1.1. The fact that transform-origin has no influence on SVG in Chrome 48 is expected.
- 事件中的this